Preserving Special Moments: A Memory Hamper Guide
How to plan a personalised memory hamper for a birthday: gathering photos, choosing the anchor frame, layering treats and writing the card.
A personalised memory hamper for birthday celebrations works differently from a standard gift box. Instead of collecting nice things, you are collecting evidence, photographs, small objects and familiar treats that together say something about a person and the people around them. Done well, most of it is still in their home a year later.
This guide covers how to plan one, from gathering photos to choosing the frame that anchors the hamper, and how the same approach changes for a friend, a parent or a whole family. The work is mostly in the preparation, not the shopping.
What goes into a personalised memory hamper for a birthday
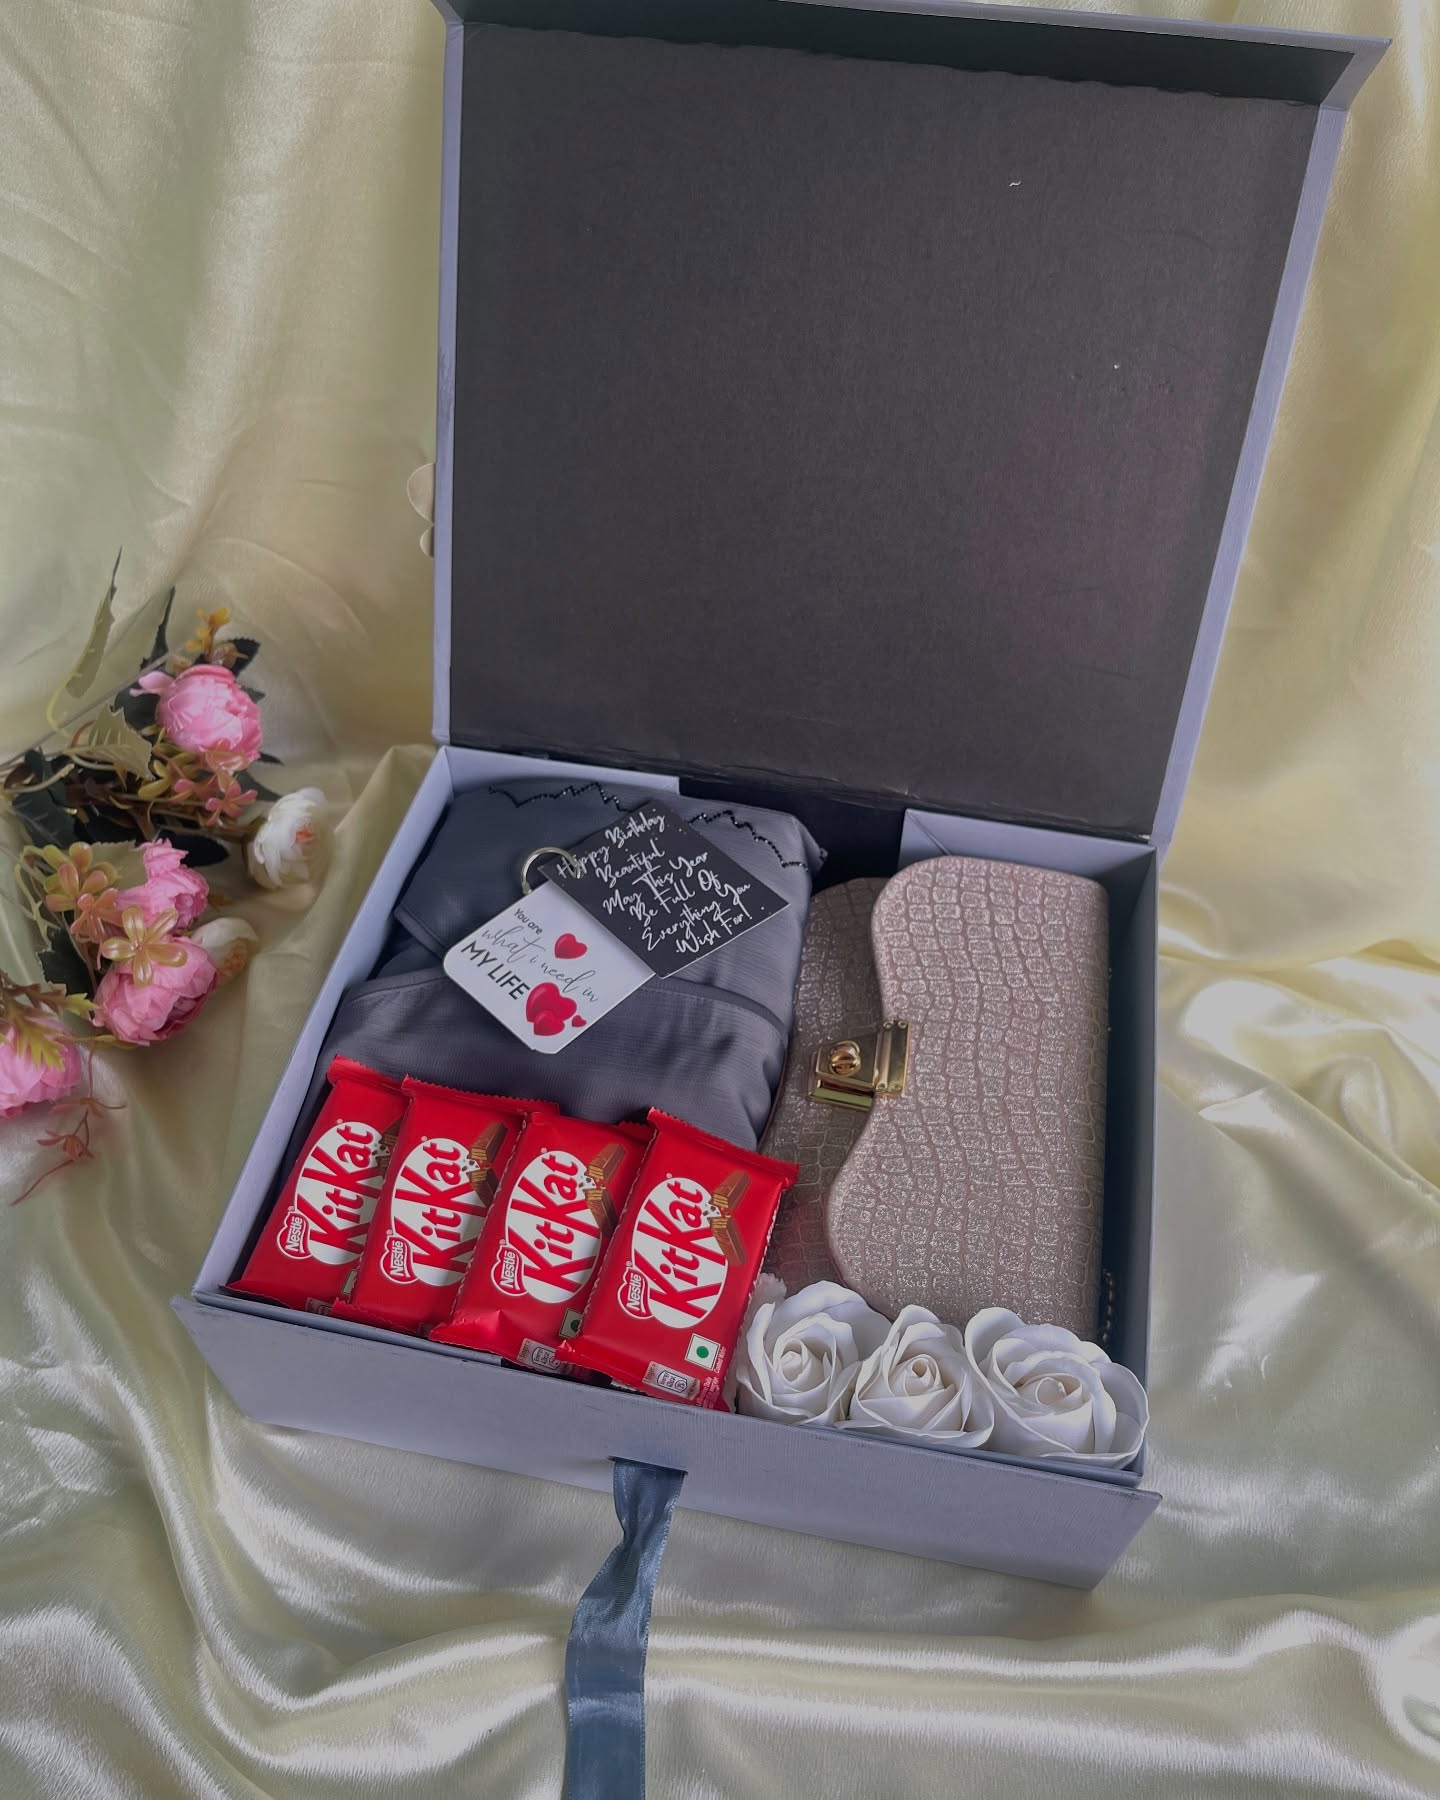
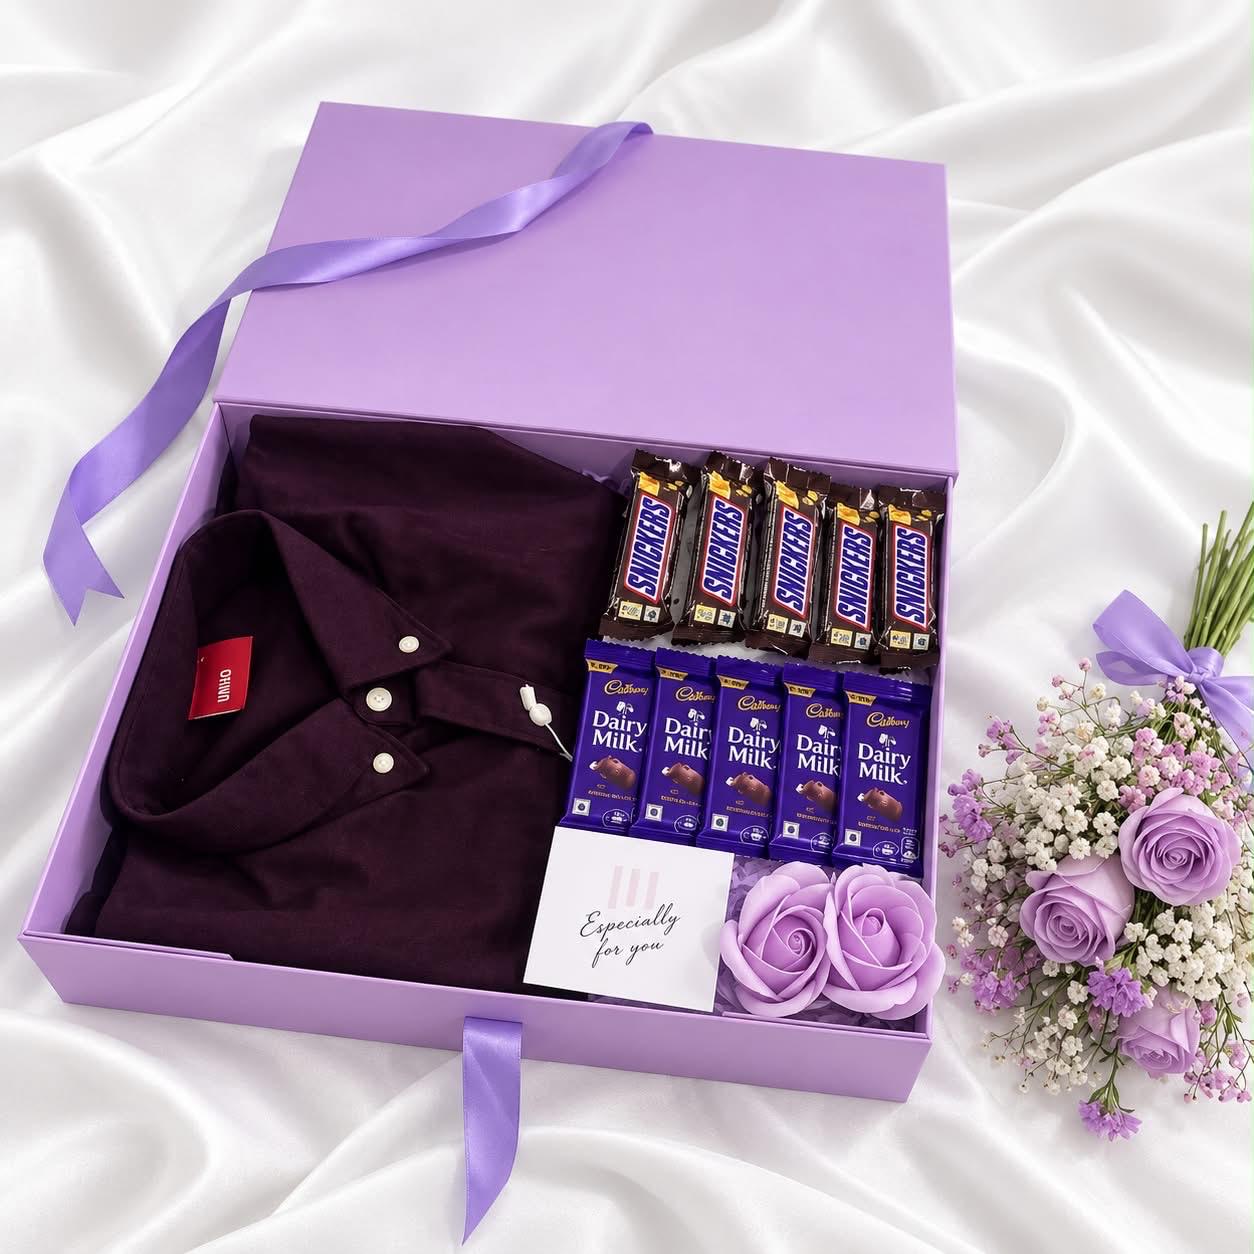
A memory hamper has a simple structure underneath it. One photo piece acts as the anchor and takes up most of the visual space. Around it sit two or three supporting items, something useful or wearable, something to eat, and something small enough to be overlooked at first and noticed later. A written card ties the whole thing together.
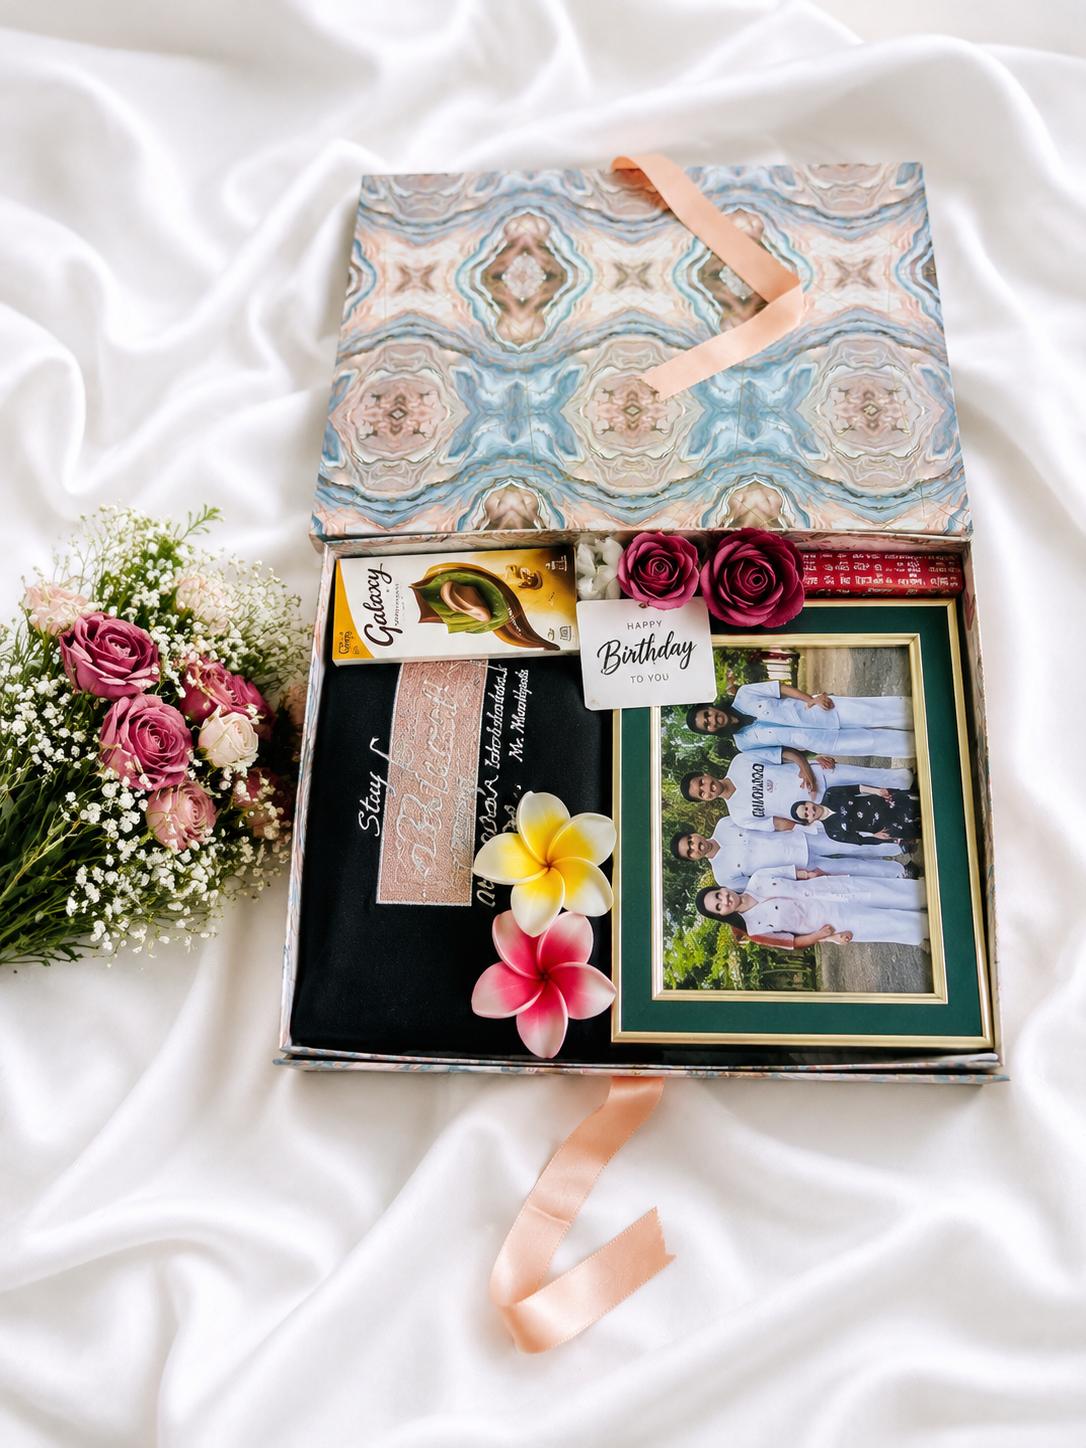
The Personalised Birthday Memory Hamper is a clear example of that structure, with a family photo frame at the centre, a fabric gift beside it and chocolates filling the space around them. Notice that nothing competes with the photo. That is deliberate, and it is the part most home-made hampers get wrong by including too many items of similar size.
Gathering the photos before you order anything
Photos take longer to collect than people expect, particularly if you want images the birthday person has not seen recently. Start this part first.
- Ask two other people. Siblings, cousins and old friends hold photos you do not have, and usually the better ones.
- Work from original files. An image that has been forwarded through several chats will look soft once printed at any size.
- Mix the eras. One childhood photo, one from a few years ago and one recent picture tells a story that three recent photos cannot.
- Check faces are large enough. In a collage each photo ends up small, so wide landscape shots with tiny figures rarely survive the crop.
- Keep one back. If a photo is genuinely precious, use it for the main frame rather than burying it in a collage.
Once you have the images, sort them into a shortlist of favourites and a longer list of extras. The shortlist decides the anchor piece. The extras decide whether a collage is worth including at all.
Choosing the frame that anchors the hamper
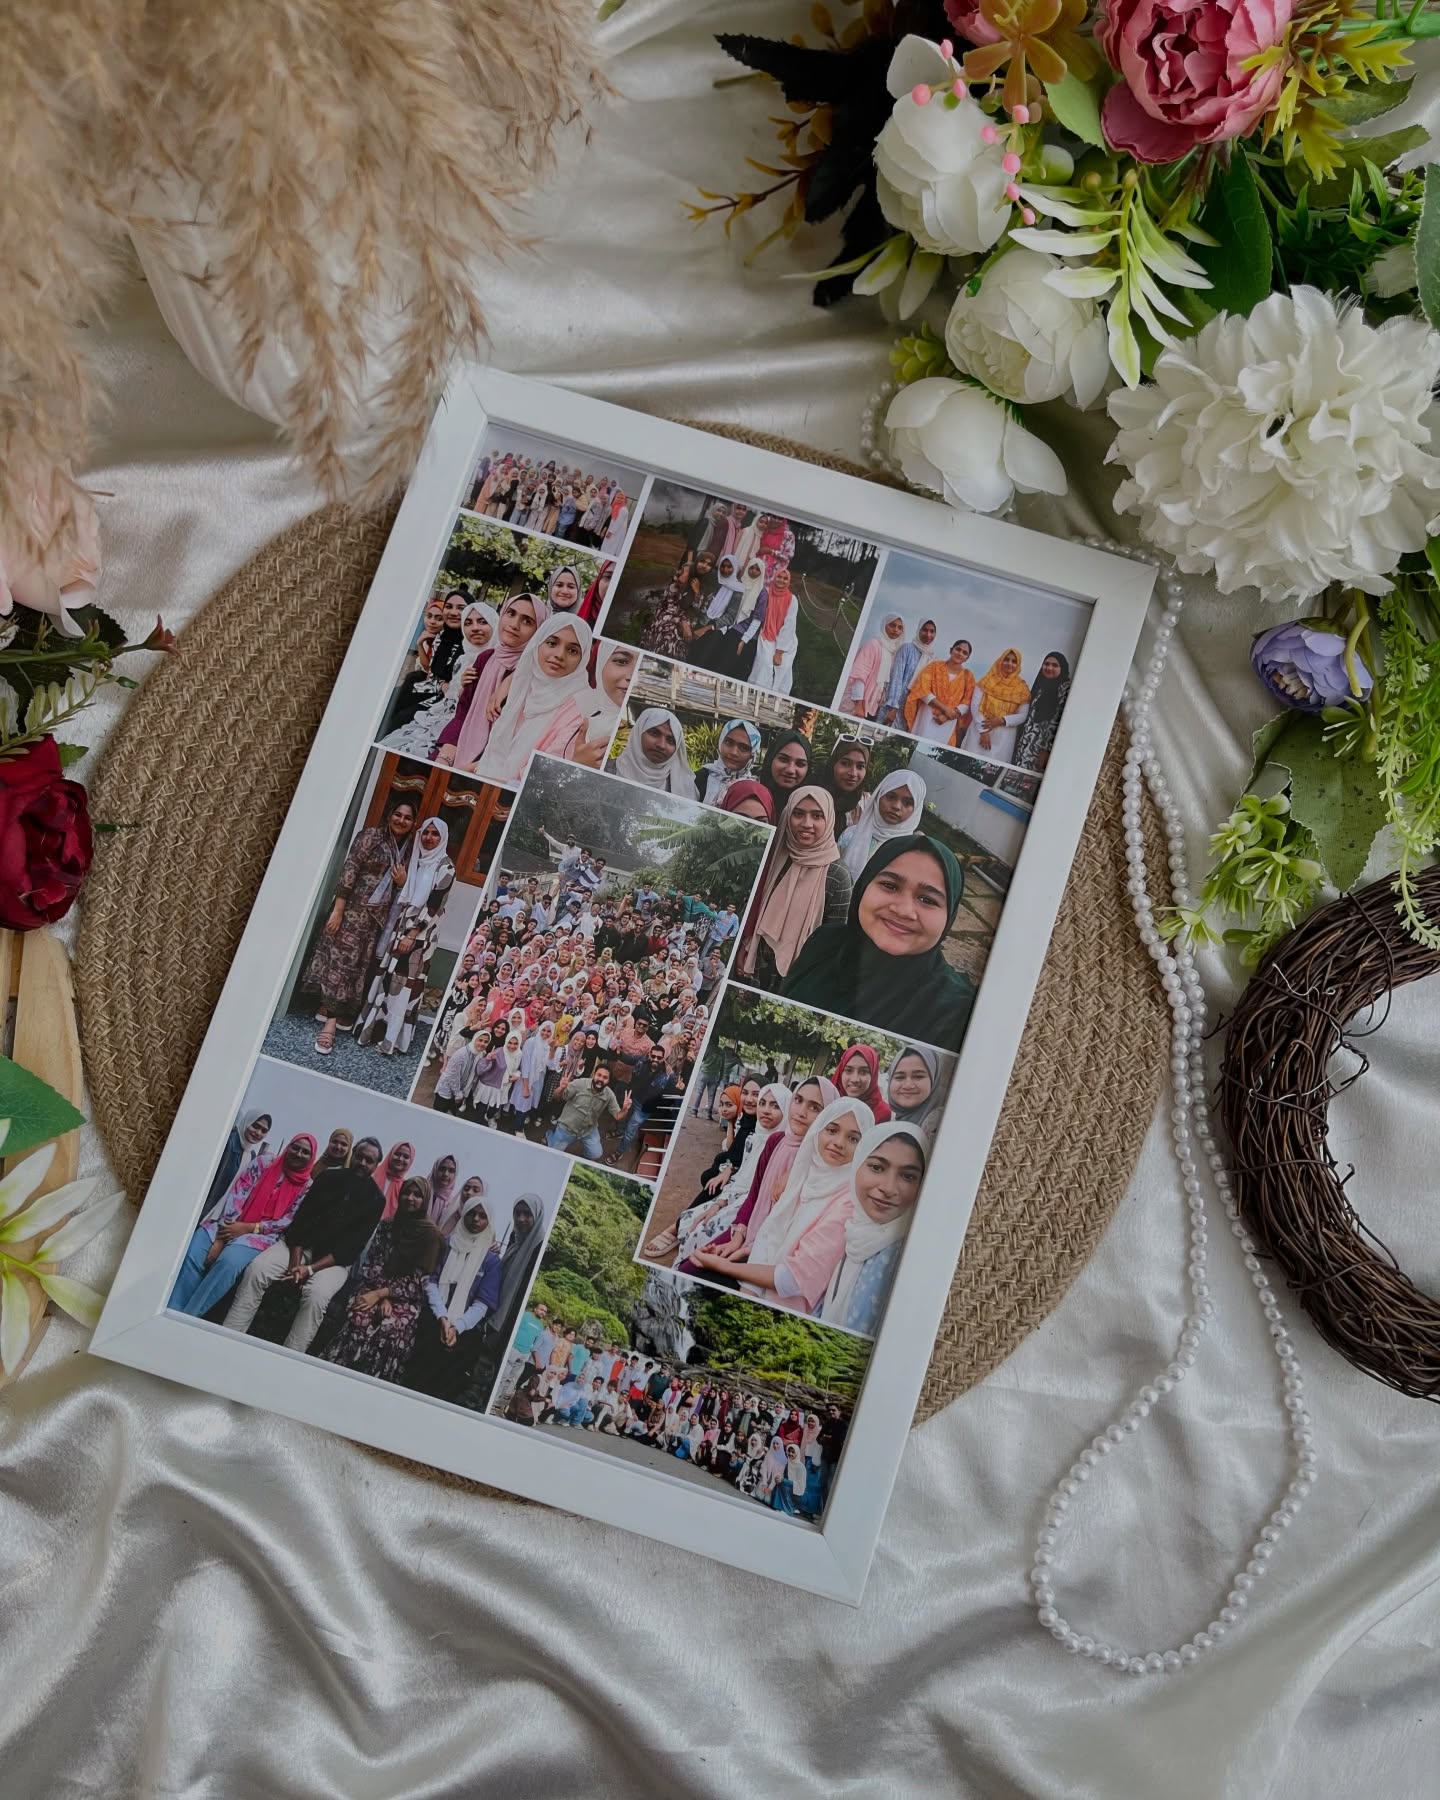
The anchor frame sets the tone for everything else. A single portrait feels calm and grown-up. A collage feels warm and busy. Neither is better, they simply suit different people.
For a hamper aimed at a parent or at the wider family, the Wooden Family Photo Frame is a safe and lasting choice, because warm wood sits comfortably in almost any room and does not date. When you want the emotion to be immediate rather than understated, the Heart Collage Memories Frame arranges many photos into a heart under the word Memories, which works particularly well for milestone years where there is a lot to look back on.
For a close friend, something with a lighter tone suits better. The Friends Forever Photo Collage Frame gathers black and white photos and a die-cut friendship portrait into one piece, and it reads as affectionate rather than formal, which is usually the right register between friends.
Layering treats and small objects around the photos
Once the frame is chosen, everything else is supporting cast. Keep the number of items low and let the packaging do some of the work. Three considered items in a well-arranged box look far better than seven crowded ones.
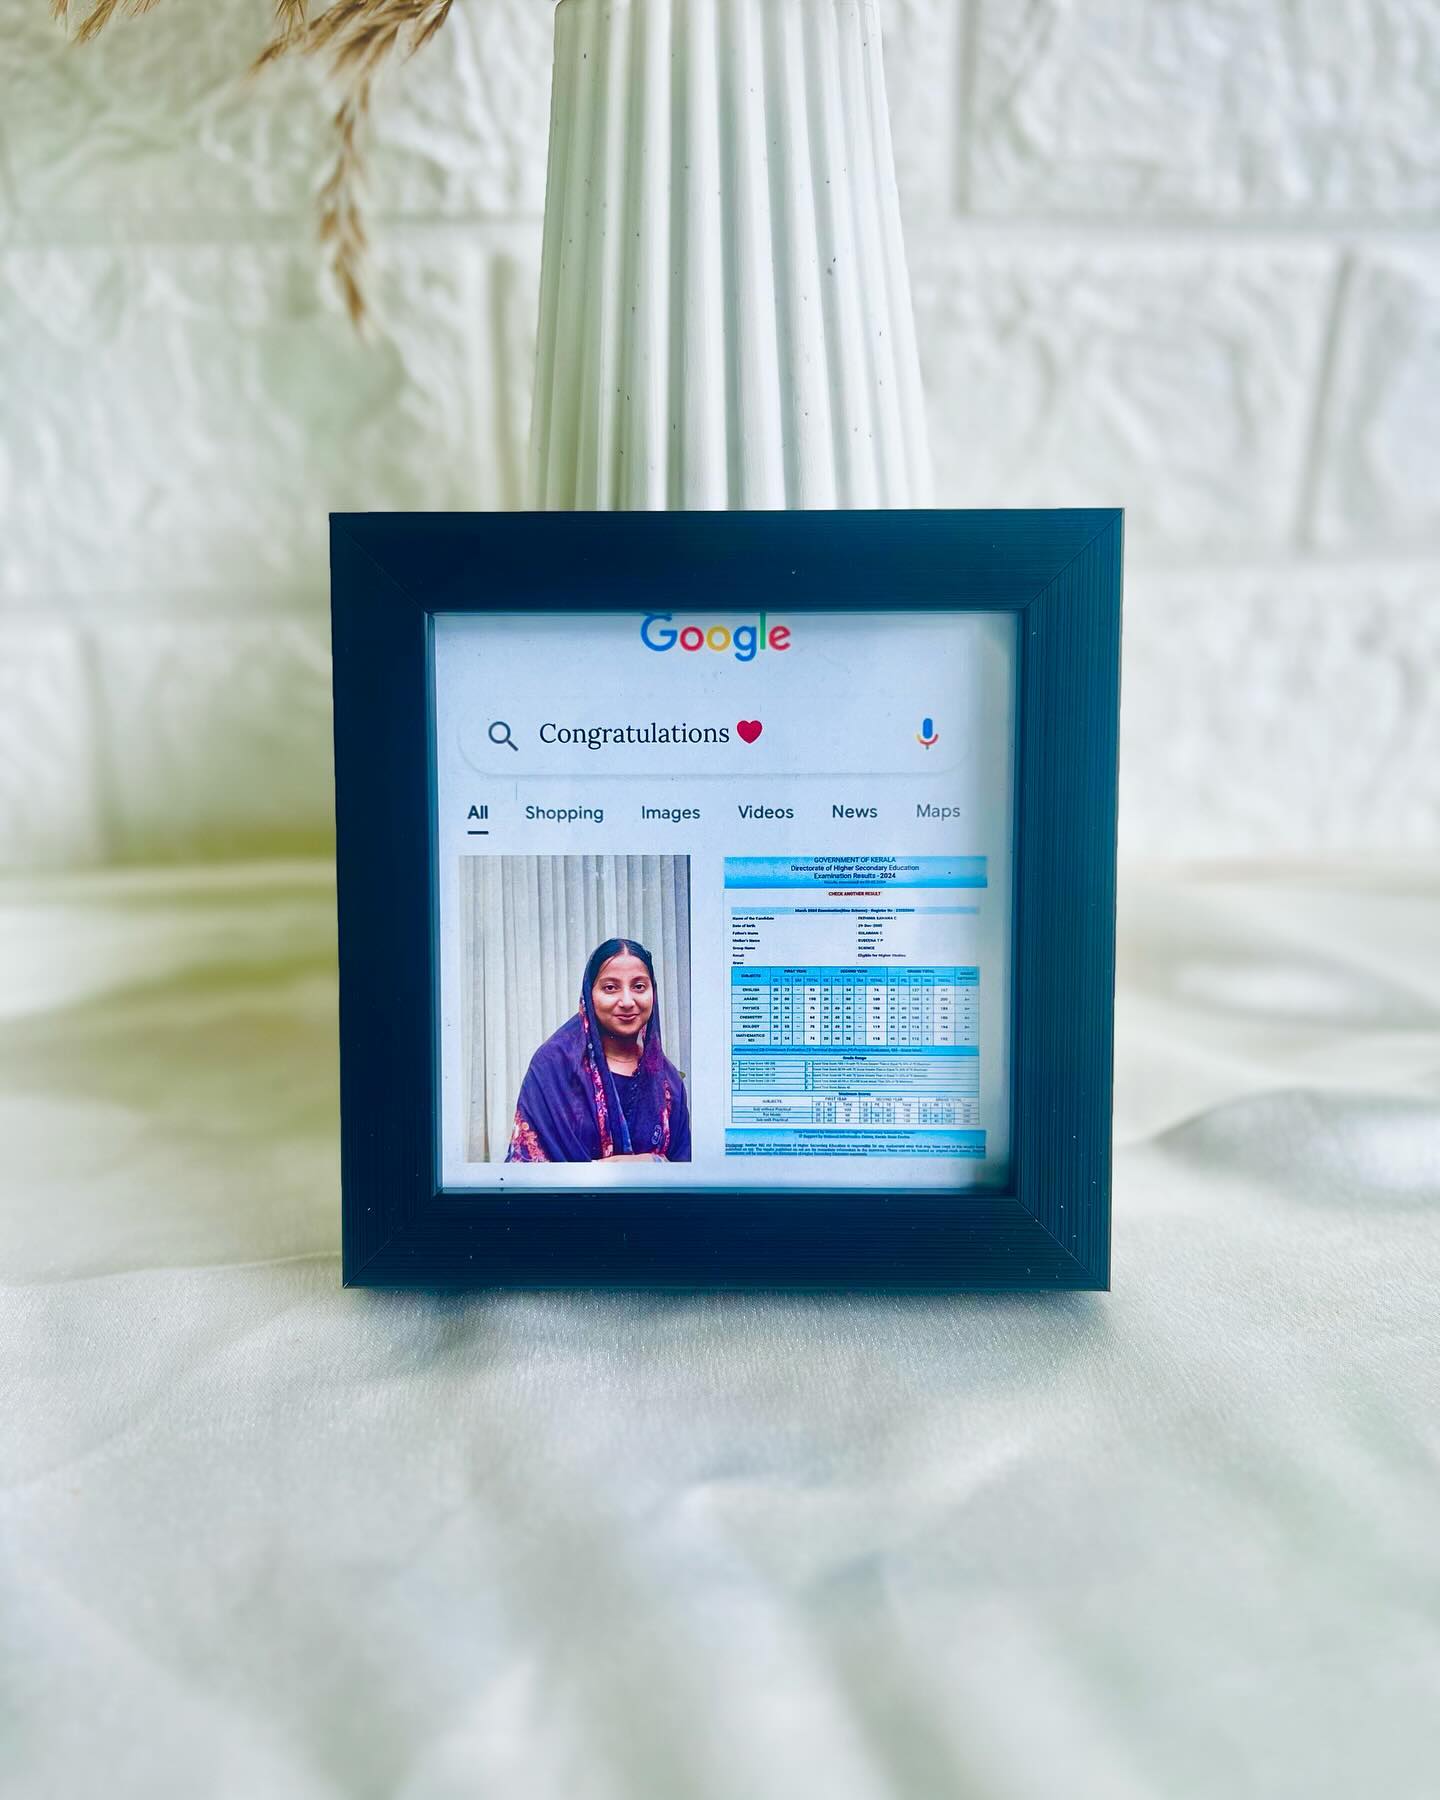
Chocolate is the easiest supporting item because it is familiar and shared, and because it gives the person something to do while they are still processing the photo. A compact pairing such as the Photo Frame & Chocolate Gift Box shows how little is needed, with chocolate bars lining the box around one personalised mini frame. Choose the brand they actually buy rather than the fanciest option, since recognition is the point.
If you want the memory to keep appearing through the year rather than sitting on one shelf, a calendar piece does that job. The Photo Calendar & Rose Birthday Box turns a favourite photo into a personalised calendar, with photo-wrapped chocolates and silk roses around it.
Adapting the hamper for friends, parents and partners
The same structure shifts easily once you change the anchor and the tone of the writing. For parents, lean on family photographs and keep the design restrained, because the gift will probably be displayed in a shared living space. For friends, use in-jokes, candid photos and brighter packaging. For a partner, narrow it down. Two or three photos that only the pair of you would recognise beat a collage of twenty.
If you would rather decide every element yourself instead of starting from a ready-made box, the hamper builder lets you choose the pieces one at a time, which is the easier route when you already know exactly which photo and which treats belong in it.
Writing the card, which most people leave too late
The card is the smallest part of the hamper and the part that gets read the most times. Write it before the day, not in the car. Name one specific memory rather than offering general good wishes, mention why you chose that photo, and keep it short enough that they can read it out loud if they want to. Four honest sentences beat a full page of warmth with nothing particular in it.
A memory hamper works because it is assembled rather than bought. Give yourself a week for the photos, pick one anchor piece and let the rest support it quietly. When your selection is ready, message Craftwaves on WhatsApp to confirm price, availability and the personalisation details.
Published by Craftwaves Editorial Team. Reviewed for clarity and gifting accuracy by Craftwaves Gifting Team. Last updated .